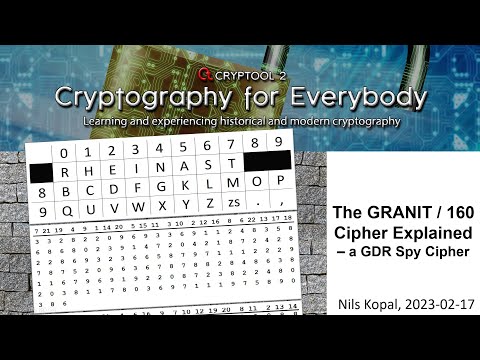
The GRANIT / 160 cipher is a hand cipher which was used for communication between the GDR’s “Ministerium für Staatssicherheit” (Engl. Ministry for State Security) or MfS or Stasi and their agents in West Germany. The Stasi’s “Geheime Dienstvorschrift” (Engl. secret service regulation) GVS 1064/59 and GVS 1065/59 describe its usage. Copies of the original (German) service regulations can be found on Jörg Drobicks’s homepage.
The GRANIT cipher is a variant of the “Doppelwürfel” (= double columnar transposition cipher). The Stasi communicated with their agents in West Germany via numbers stations: The agent had to turn on a radio and wait for his call sign. Then, the agent notes down the spoken numbers and after that he decrypts the received message using the GRANIT cipher.
The West German “Zentralstelle für das Chiffrierwesen” (Engl. Central Office
for Ciphering) was able to capture and decipher messages, because they could guess some of the used keys.
The Günter Guillaume Case – An East German Spy Near Willy Brandt
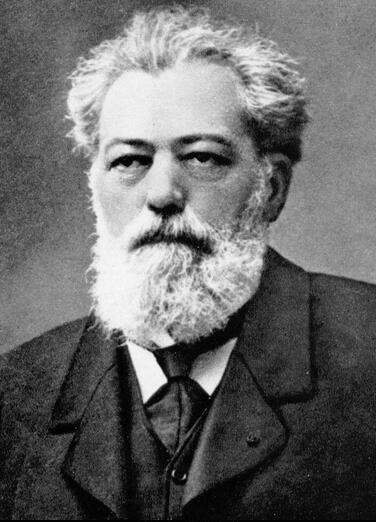
Günter Guillaume and his wife Christel Guillaime were East German spies deployed in West Germany. Günter Guillaume became officer in the economic, financial and social policy department of German Chancellor Willy Brandt. The Guillaume couple used the GRANIT cipher for communication with the Stasi. But the West German “Zentralstelle für das Chiffrierwesen” was able to decipher some of their messages.
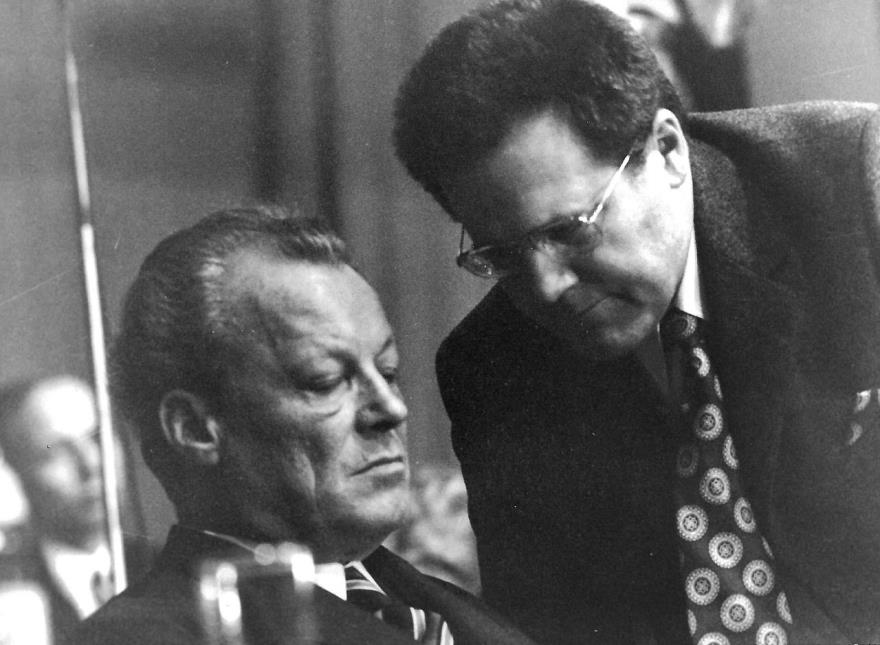
Matching birthday date wishes and well wishes for the birth of a son were found in a deciphered message. The Guillaumes were finally caught and arrested in 1974. Ironically, mentioned birthday dates of the Guillaumes were their “agent fake birth dates”…
Despite having good evidence police raided his home but Guillaume instantly confessed being a Stasi spy when approached by police. More about the story can be read (in German) on Klaus Schmeh’s blog.
How the GRANIT / 160 Cipher Works
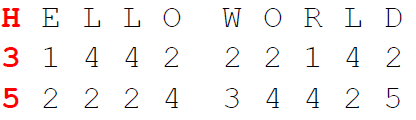
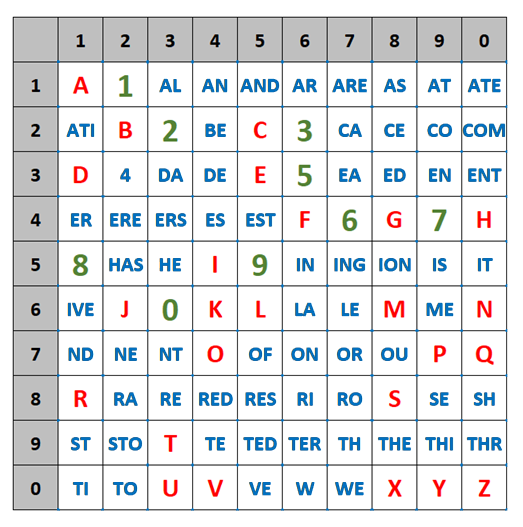
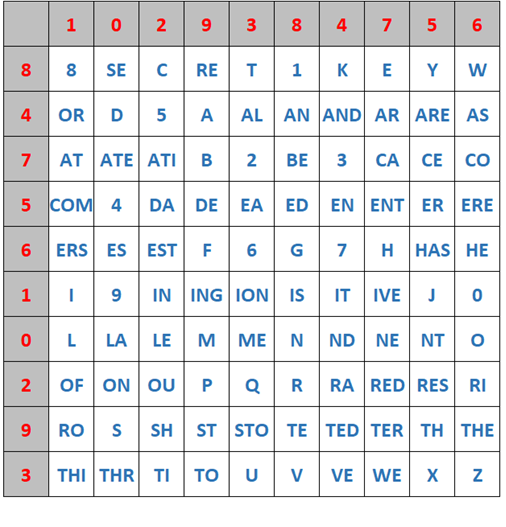
The GRANIT / 160 cipher is a hand cipher and consists of five steps:
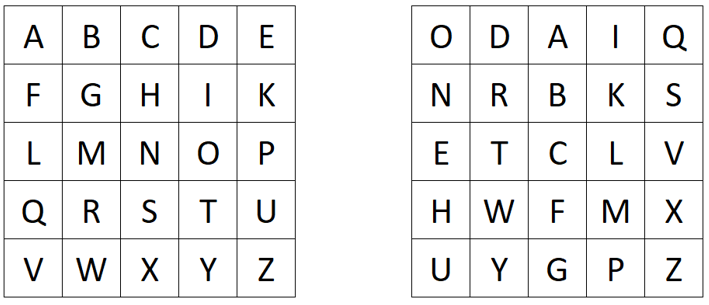
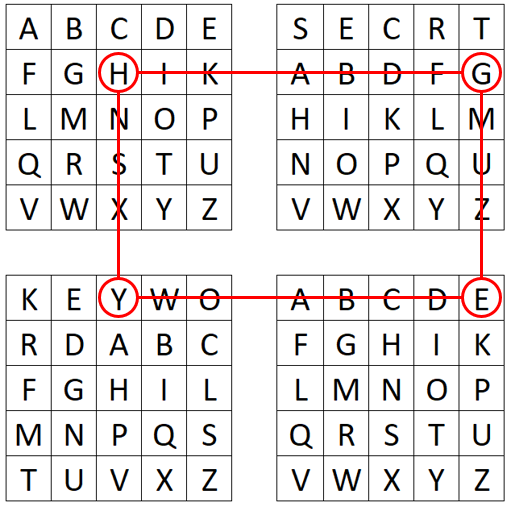
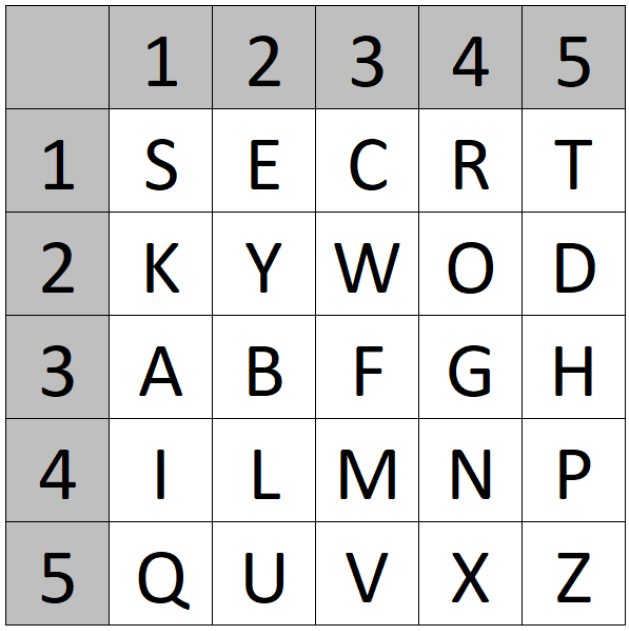
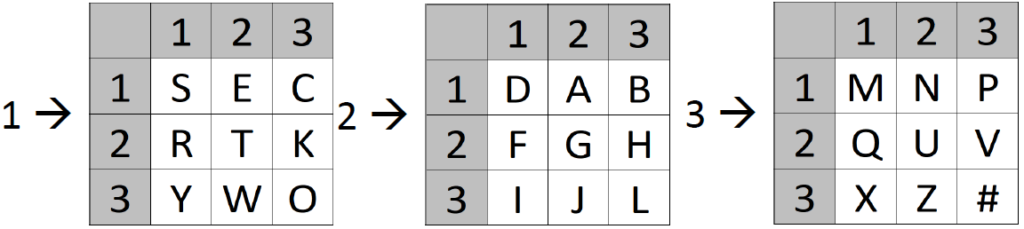
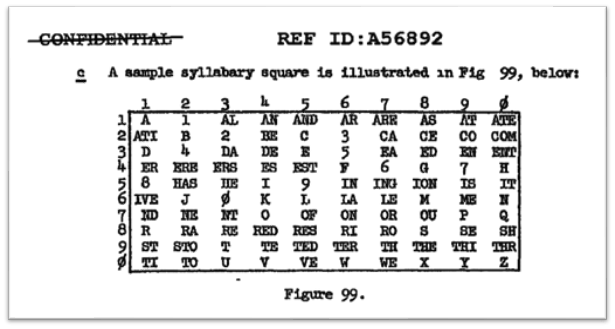
- Create a straddling checkerboard based on a keyword
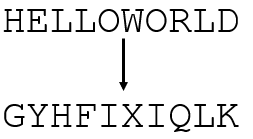
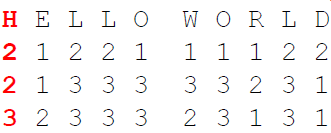
- Encrypt the plaintext using the straddling checkerboard
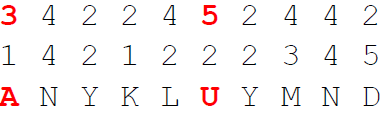
- Create two rectangles for a double columnar transposition based on two key phrases
- Encrypt the numbers (result of step 2) using the first rectangle
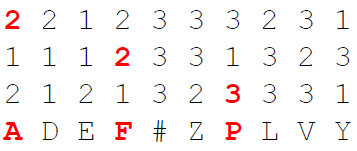
- Encrypt the numbers (result of step 4) using the second rectangle
Clearly, the Stasi defined how to create the keys, how to create message indicators so that the receiver of a message is able to decrypt, etc. The details of these procedures and the details of the actual cipher can be seen in the video below :-).
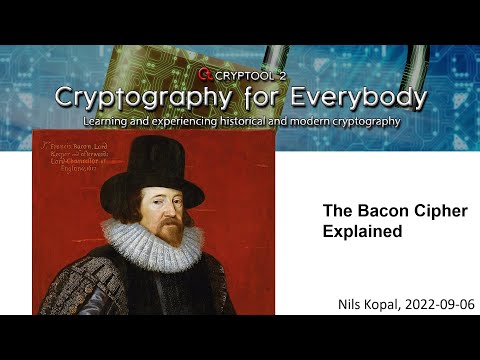
A YouTube Video about the Details of the Cipher
If you want to know, how the details of the GRANIT cipher work, please watch my YouTube video on “Cryptography for everybody” about the GRANIT cipher: